I had a piece of 55 * 160 piece. A dress with a salopette was put out.

Adjust the pattern to the of the front and the back of the fabric. The free pattern and the angles here are relaxed 7-8 laws. I made the hanging long. By putting the button I made it both adjustable.

Put a pattern and cut off the back and front. If you want to make a pocket, cut it in the pocket. Do the same in lining fabric.

For shoulder hanging, cut two layers of fabric. press. interlining fabric to support the shoulder hanging.

Pocket and lining face the face of the pocket, I put it on the top of the next one, I sew all the way for a small space and it turn inside. I marked it in front of the front body and sewed it.
Stitch the of the back lining a fold of the
shoulder hanging. (Right and left wing). Sew the cloth on the back of the other shoulder of the shoulder. Put the back gusset lining fabric on the back gusset side and the back side gusset side. Start from the armhole and steer all the way up to the other armhole. (Armhole, hanger, neckline, hanger, armhole).seam allowence cut . Turn inside.
Put the front body fabric and lining face on top of the next fold. Stitch up from the armhole to the other armhole. Precise with scissors. Turn inside. Cover the side stitches in the salopet fabric. For the skirt base, prime the fabric together with the main fabric.
Buttonhole not very well. Well, it's a little hard for me. I support it with interlining inside. I can not make perfect button holes, it is.
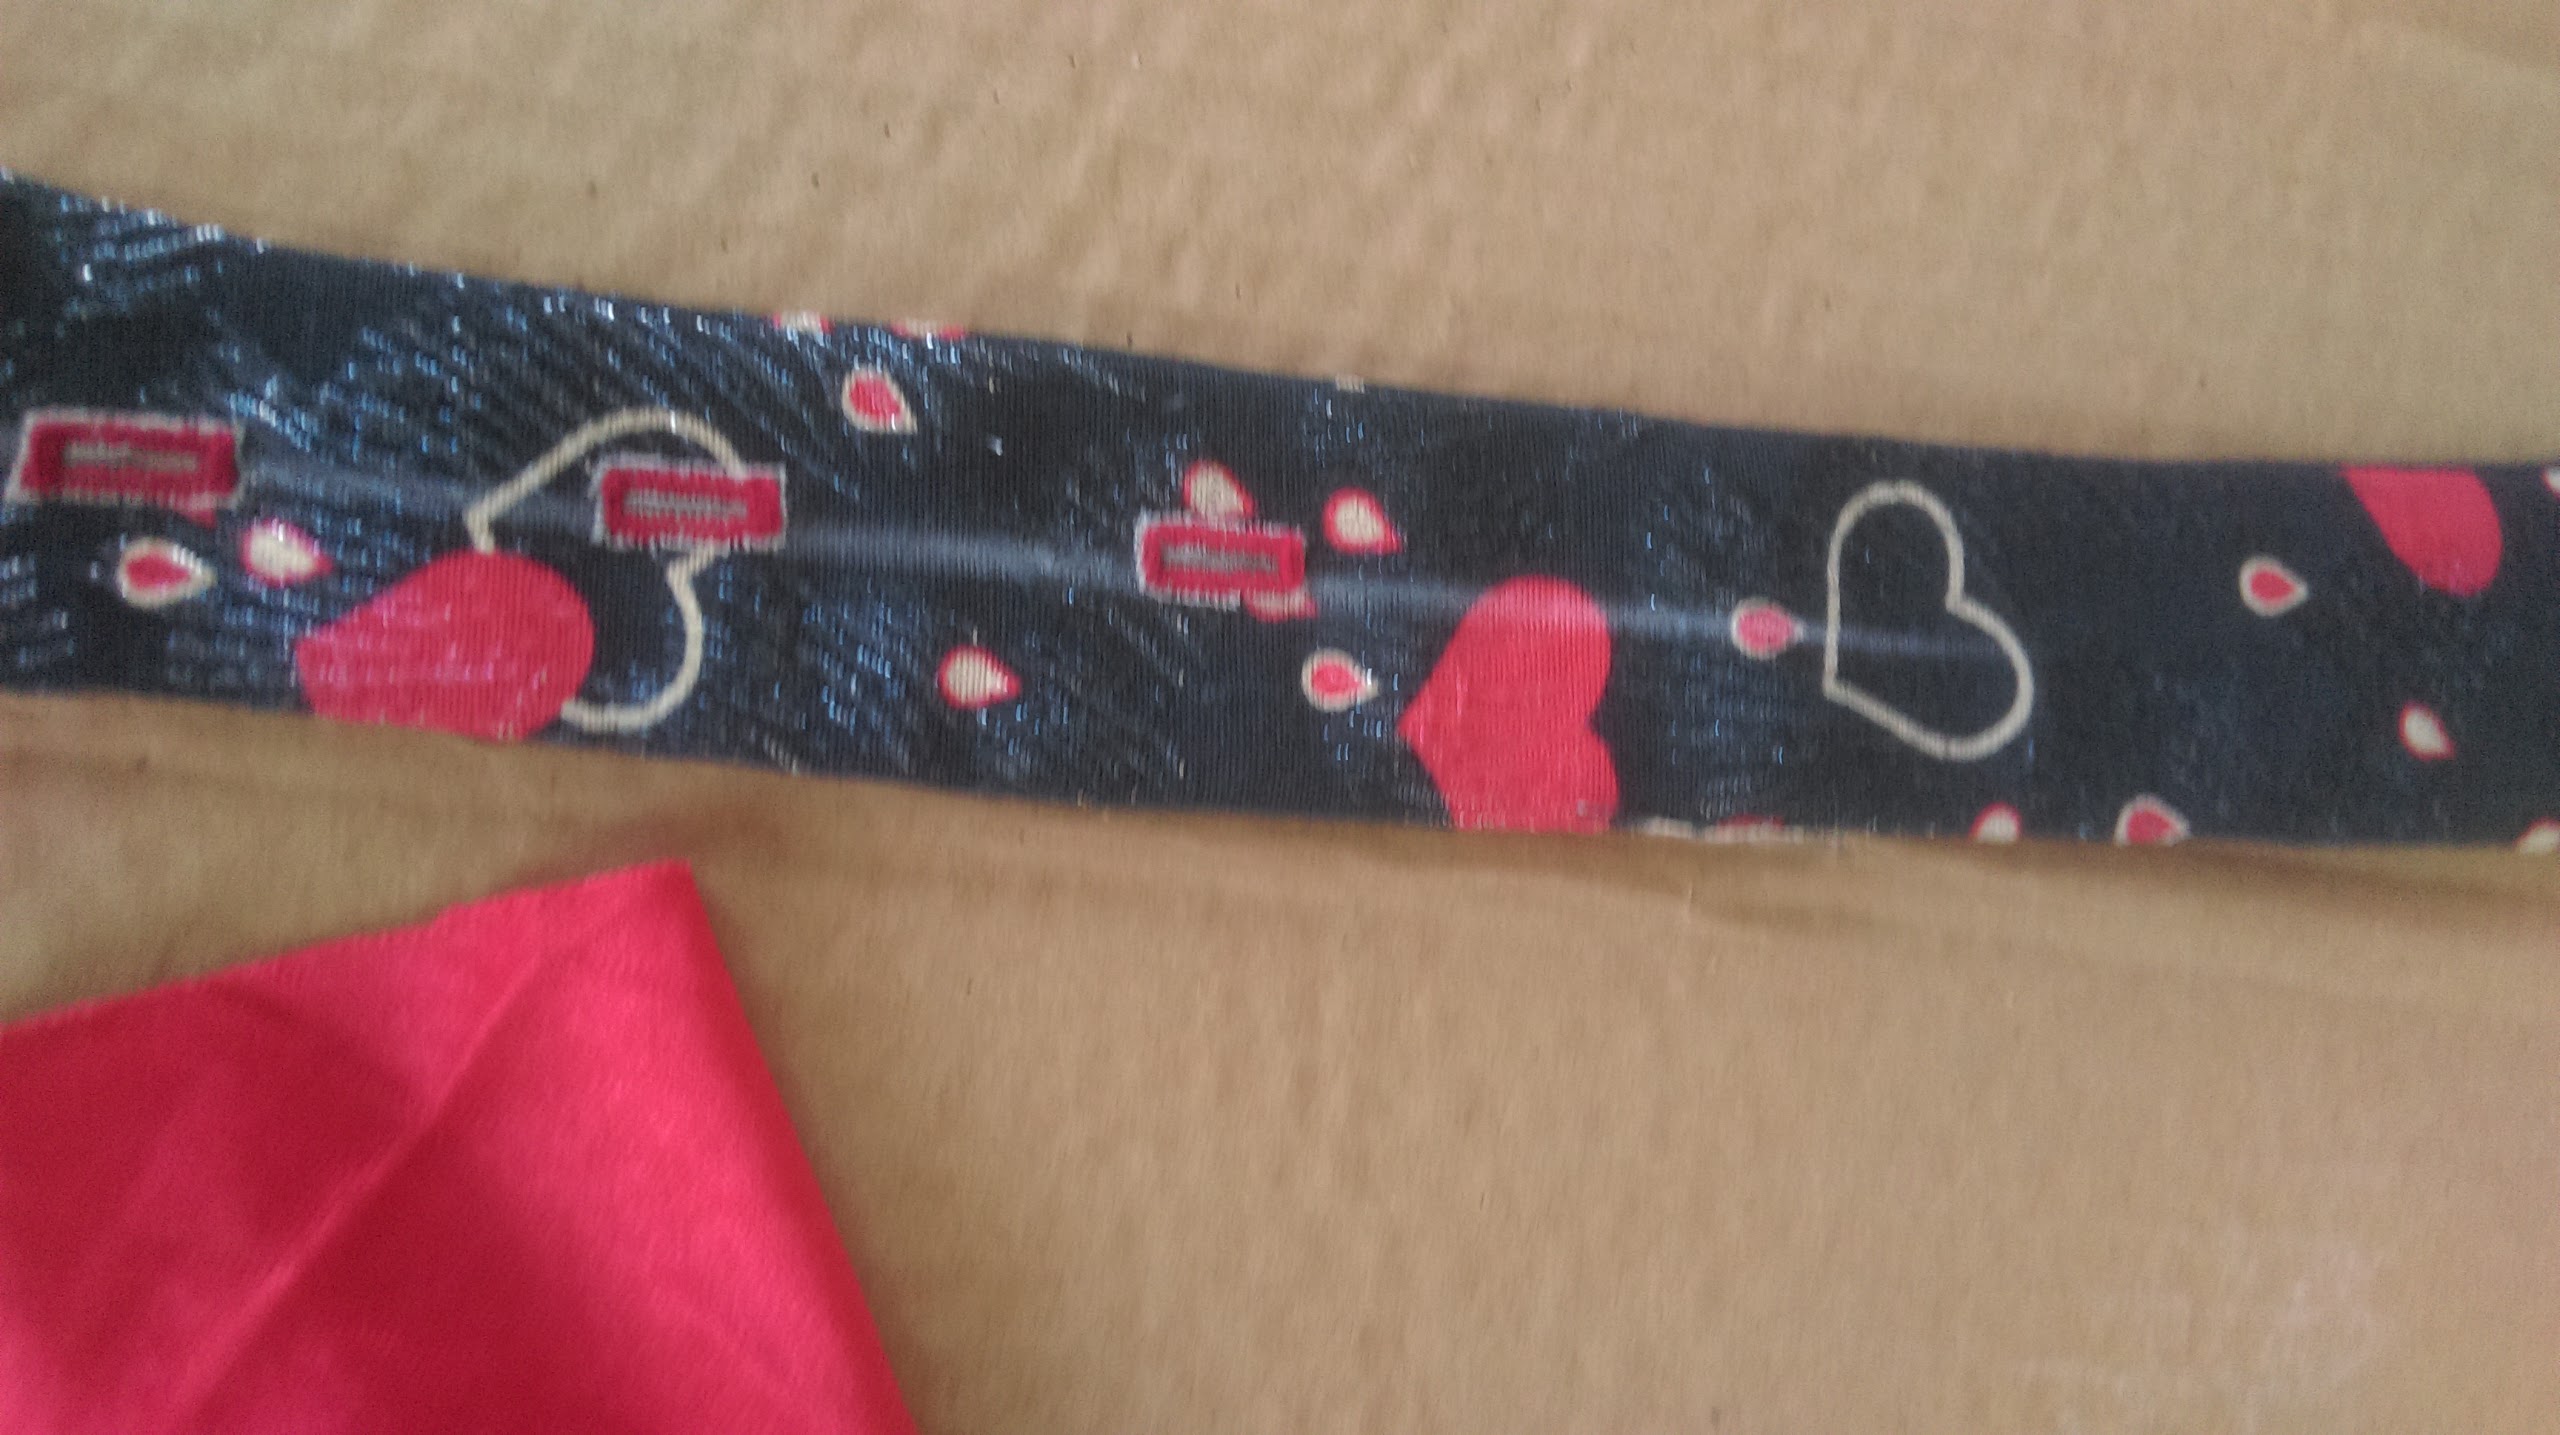
I planted the button. Hieart-shaped fabric heart button.


Adjust the pattern to the of the front and the back of the fabric. The free pattern and the angles here are relaxed 7-8 laws. I made the hanging long. By putting the button I made it both adjustable.

Put a pattern and cut off the back and front. If you want to make a pocket, cut it in the pocket. Do the same in lining fabric.

For shoulder hanging, cut two layers of fabric. press. interlining fabric to support the shoulder hanging.
Pocket and lining face the face of the pocket, I put it on the top of the next one, I sew all the way for a small space and it turn inside. I marked it in front of the front body and sewed it.
Stitch the of the back lining a fold of the
shoulder hanging. (Right and left wing). Sew the cloth on the back of the other shoulder of the shoulder. Put the back gusset lining fabric on the back gusset side and the back side gusset side. Start from the armhole and steer all the way up to the other armhole. (Armhole, hanger, neckline, hanger, armhole).seam allowence cut . Turn inside.
Put the front body fabric and lining face on top of the next fold. Stitch up from the armhole to the other armhole. Precise with scissors. Turn inside. Cover the side stitches in the salopet fabric. For the skirt base, prime the fabric together with the main fabric.
Buttonhole not very well. Well, it's a little hard for me. I support it with interlining inside. I can not make perfect button holes, it is.
I planted the button. Hieart-shaped fabric heart button.

No comments:
Post a Comment